
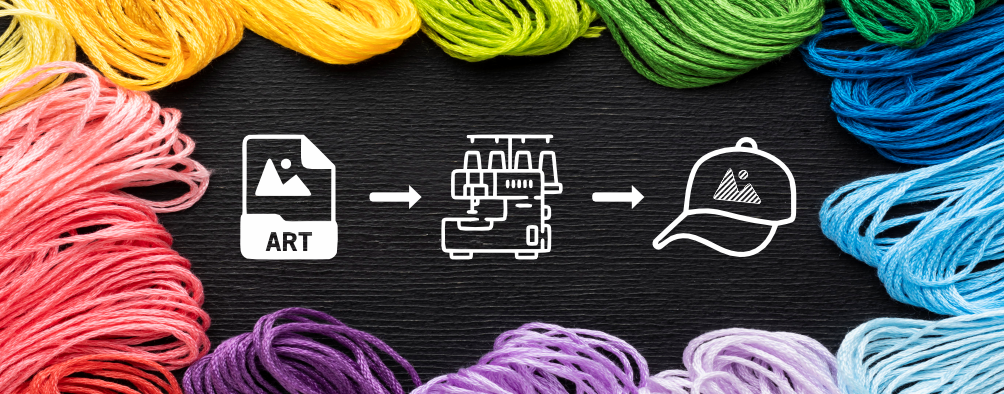
Many people are unaware of the full process that is embroidery. There are quite a few steps taken from when a design is received to when the customer receives the final product. Here is a “behind-the-scenes” look into exactly how embroidery works.
Firstly, when receiving the art or design for the embroidery job, it is assessed for its file, format, resolution, and overall feasibility. Once the file is determined to be usable, it then undergoes the process known as digitizing. Digitizing is simply turning an artwork into stitch patterns or instructions for the embroidery machine. This step is very crucial for multiple reasons; mainly, being that digitizing files helps enhance the final look of the stitching. It also provides the stitch count, which can also help establish pricing for that specific job. This process of digitizing is typically done manually with the accompanied help of specialized software. Without this step, turning designs into embroidery would be basically impossible.
Subsequently, a thread for the embroidery job is to be chosen. Thread is often color matched according to quality brands and the Pantone system. There are various types of thread, such as: polyester, chenille, rayon, metallic, etc. The fabric type of the thread of choice is important because it affects the types of stitches that can be done, the thread tension and backing needed. Backing or stabilizers for embroidery is essential because it offers support. It also ensures the overall stitch quality by preventing shifting, stretching, or puckering as the item/ garment is being sewn. Further, as fabric is in the process of being sewn, there must be someone operating the embroidery machine while in use. The machine needs to be monitored to ensure that the machine is following the digitized pattern, for any misalignments, and thread breaks.
Lastly, once all the aforementioned steps have been completed, there are some final touches that need to be done. The post-production steps are dependent on the types of stabilizers used. Temporary stabilizers can simply be torn off from the back of the design once embroidery is complete. Cut-Away stabilizers will literally be cut away using fabric scissors, attempting to get as close to the embroidered design without trimming threads. Water-soluble stabilizers (WSS) are torn away and any of the small remaining pieces are sprayed, lightly soaked, or steamed to be dissolved. Most used stabilizers (once the excess has been removed) are heat pressed to smooth out creases, and to easily apply cover-ups (cover stabilizers to prevent irritation when wearing garment). One of the exceptions to this is the heat-away stabilizer that requires dry ironing (no steam) accompanied by a cloth for burn prevention.
At this point in the process, regular quality control checks of any production item(s) ensue. For instance, looking for any breaks or skips in threads, verifying the placement of the embroidered design, and confirming the general specs of the order. Depending on the customer, the order is either shipped out or picked up once the items have been packed. Hopefully, this has provided a clearer understanding of how embroidery works, from digital design to the final stitch!